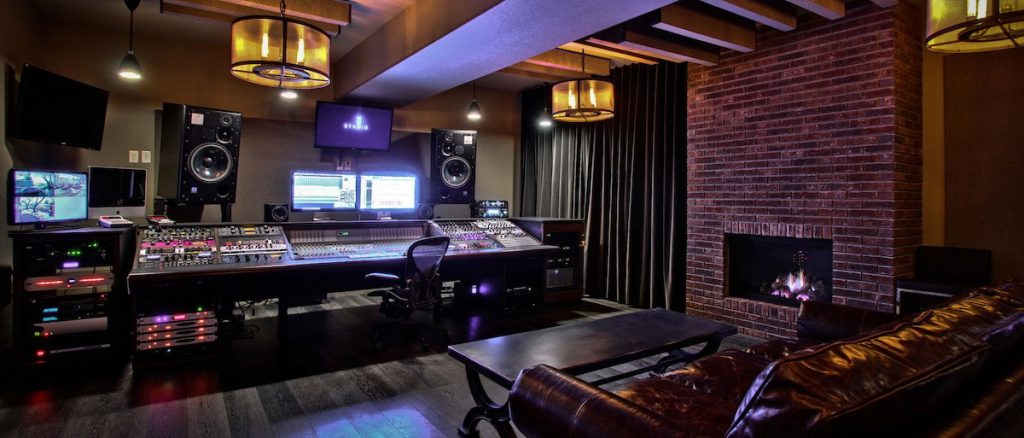
Acoustics: Optimising Your Home Studio

If you do any level of music recording, whether it be a laptop-and-mic home setup or you’re a regular visitor to an SSL-equipped multi-room complex like The Grand, you’re probably familiar with a disorder known as Gear Acquisition Syndrome. We all get it. That creeping certainty that if I just had that valve mic, that famous compressor that Led Zep used, that plugin that I saw on YouTube, my records would be perfect. It’s all that’s holding me back.
If you ever visit audio forums you’ll find tons of G.A.S sufferers. They all want to know what mic will make them sound perfect, or what speakers will give them perfect mixes. The truth, as we all know deep down, is that no one piece of gear is the key to improving your production skills. In fact the closest thing we have to a magic bullet isn’t a compressor, or an EQ, or a mic – it’s actually a set of materials you can pick up in B&Q.

No matter what kind of setup you have, the acoustics of your room will make far more difference to your productions than any piece of gear you can buy. It’s not sexy, it’s not exciting, and it won’t give your friends cause to narrow their eyes in envy, but investing in some acoustic treatment for your room will yield the biggest improvement to the sound you produce.
Given the choice between a set of £10,000 ATC monitors in an untreated, cuboid room or a pair of £30 hi-fi speakers in an acoustically sound space, I’ll take the hi-fi speakers every time. And I’m not alone.
The Compound Effect
Unless you’re lucky enough to work in a room designed by an audio architect, your room will have some acoustical issues that will colour everything you hear and everything you record. In order to understand this, let’s imagine an extreme case – let’s say that your bathroom is your recording and mixing space. We all know what bathrooms sound like; they’re echoey, reverberant spaces. If you throw up a mic in there and make a recording, the character of that bathroom will forever be captured as part of the audio.
It can’t be removed it after the fact by some clever plugin, and the reverberation will colour the performance. If you want your recording to sound bathroom-y, great! You’ve just got the most authentic bathroom-y recording there ever was. However, if you wanted something without that character, you’re stuck – it’s there whether you like it or not.
When you want to overdub a second recording on top of the first you now have double bathroom, and it starts to become messy and problematic. Then, even worse, you’re listening to the playback in the bathroom which adds a THIRD layer of bathroom acoustic to the experience. How on earth can you be expected to make judgements on those recordings?
Of course, you know better than to put your rig in a bathroom. But the problems you would experience in that scenario carry over to every room you can imagine, to a greater or lesser degree. Every room has some acoustic imprint. So how do we fix that, and stop that colouration appearing in our recordings and clouding our listening judgement?
What Not To Do
First off, let’s dispel some myths – spikey foam squares and egg boxes are not the answer. Neither is covering every square inch of wall in carpet. While you might hear a difference in the acoustics by gluing foam to your walls, it’s a little like taking paracetamol for a gunshot wound; it may help, but it by no means solves the issue. To understand why, we need to consider some physics.

Not such an egg-scellent acoustic solution
You’re probably aware, as a person interested in recording, that the pitch of a sound is known more scientifically as the frequency. Frequency describes how many air vibrations occur in one second. The more vibrations in a second, the higher the frequency, and the higher the pitch. Frequency is measured in Hertz (Hz). As an example, the A above middle C is given as 440 Hz in concert pitch.
Humans can hear as low as 20 Hz and as high as 20,000 Hz (20 kHz) and therefore a good set of monitor speakers can reproduce almost all of these frequencies (usually only missing the very bassiest frequencies at the bottom of the scale). Therefore, this entire frequency range is being thrown around in our rooms by our monitor speakers, and our mics are capable of picking all of these frequencies up (OK, some mics are less sensitive at the extreme top or bottom of the frequency range, but that’s another article for another time).
Yeah, Science!
In order to control these sound waves and stop them causing issues by bouncing around all over the place, we need to be able to effectively absorb them. The easiest way to do this is with soft furnishings – curtains, sofas, chairs and duvets all absorb a wide range of frequencies well. You’ve probably noticed this yourself; perhaps you’ve been decorating in an empty room, with the carpet pulled up, and discovered that’s it’s surprisingly echoey. The moment the carpet goes back down and you put the couch back in, everything sounds much more muted and controlled.
The larger the absorbent object, the more effective it is at absorbing lower down in the frequency range. This is because low frequencies have long wavelengths – the distance between two vibrations at that pitch. The longer the wavelength, the larger the absorber needs to be to effectively absorb it.
OK, enough theory – let’s look at a practical example then. Let’s take that A above middle C – 440 Hz. 440 Hz has a wavelength of 77 cm. That’s not too bad; a good sofa or chair will easily take care of that. But, hang on – lower frequencies have longer wavelengths. So what about right down at the bottom, the super-subby bassy stuff?
A good pair of monitor speakers may go down as far as 40 Hz. The wavelength of 40 Hz is 8.5 metres. Woah there – even Andre the Giant didn’t have a couch that long! Luckily, physics comes to the rescue.
It’s generally accepted that to be an effective absorber at a specific frequency, a material needs to be 1/4 of a wavelength deep. Therefore, that 40 Hz wave can be effectively absorbed and controlled by an absorbent object of 2.125 m in length. This is still big, and you can start to see why professional recording studios often have such thick walls and enormous cavities built into their design. Obviously fitting your home studio with walls over 2 meters thick is not practical, so there are limitations to what we can achieve in a small home recording space. But there are things we can do to control much of the frequency spectrum.
Controlling Bottom End
The most effective way of controlling bass in a small studio is to use bass traps. The name is a bit misleading – no bass will ever get trapped inside one – but the idea is a sound one. Effectively, bass traps are usually triangular-shaped boxes full of absorbent material like rockwool (which is effectively household insulation). Placed in the corner of the room, where the bass builds up, a trip through the bass trap and back again can do wonders to control the bass response in your studio. Panel absorbers, built of the same fabric but thinner and hung on the walls, can stop nasty reflections between your speakers, your walls and your ears. You can even make your own by grabbing some narrow timber, rockwool insulation and fabric.

If you want to go the professional route, companies such as GIK Acoustics produce home studio kits consisting of bass traps and panel absorbers that can make an enormous difference to the quality of your environment.
You can hopefully start to see why carpet or thin foam stuck to the walls doesn’t solve our acoustics issue – a foam square that measures 5 cm thick will only ever absorb frequencies above 1700 Hz or so. So they’re effective for frequencies above that, but they do nothing at all for those crucial midrange and bass frequencies below.
There’s no such thing as a perfect acoustic environment, and plenty of great music has been made in less-than-ideal acoustic spaces. But by keeping our studios acoustically neutral and controlling reflections across the entire frequency spectrum we can more accurately make good-quality balanced recordings and appropriate judgement calls based on what we hear coming out of our speakers. Your recordings will be purer, your speakers will sound smoother and more full, and you’ll have pinpoint accuracy with your panning. Find me a piece of gear that can do that!

Leave a Reply